

Create a New Task or Event
Create a New Task or Event
Create a New Task
- There are four ways to create a New Task, from:
- Planner
- From the homepage, open the left menu and click Planner. Select the Tasks tab and click New Task.
- Module Plan
- Within a Module, click the Module Plan icon
 and select the Add Task to Planner icon for your chosen section
  .
.
- Within a Module, click the Module Plan icon
- Section Cover
- Click Add Task to Planner.
- Learning Progress Page
Note: Tasks created from Learning Progress page are attached as Goals.

- From the homepage, open the left menu and click Learning Progress and select the subject of your choice.
- Under the Topical tab, click the Overflow (3-dot icon) and select Add Task to Planner.

- Planner
- On the New Task subpage, fill in the following details:
- Title - The event title will be pre-filled for you as "Untitled", or "Target Marks: ___%" if you access from the Learning Progress page. Change the title to one that is concise and relevant.
- Description - You can include details of the task here.
- Complete By - You can indicate the deadline of your task here.
- Attachments - You may attach assignments, resources or goals (only when adding from the Learning Progress page).
- Click Create to proceed.
Update a Task
- On the Planner page, select the Tasks tab, followed by the Ongoing tab to view all your tasks.
- Click the Task card to view the task details.
- To mark a task as complete, select Mark as Complete.
- To edit or delete a task, click the Overflow (3-dot icon) and select Edit or Delete.
Create a New Event
- There are two ways to create a New Event from the Planner page:
- Click + New Event, or
- Scroll to your desired time on the Planner and click on the time slot to create a new event at that time.
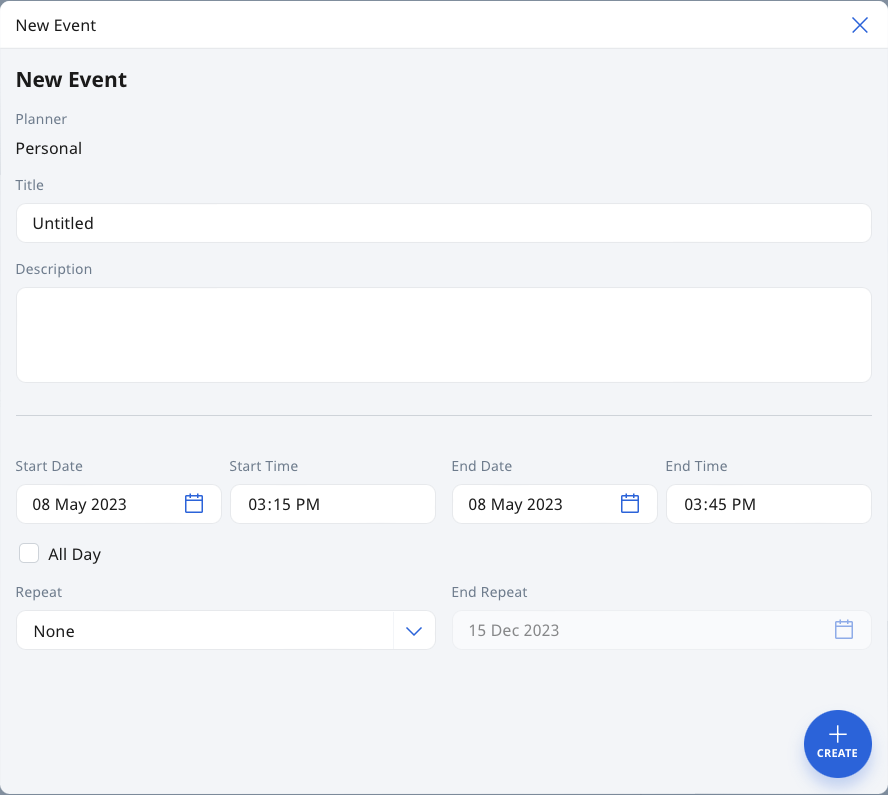
- On the New Event subpage, fill in the following details:
- Title - The event title will be pre-filled for you as "Untitled". Change the title to one that is concise and relevant.
- Description - You can include details of the event here.
- Start/End Date & Time - You can indicate the date and time of your event here.
Note: If the event is all day i.e. a Public Holiday, you may consider selecting the All Day checkbox.
- Repeat - You can select how often the event repeats and the end date for the repeat.
Note: The End Repeat field will be greyed out if None or Custom are chosen for Repeat.
- Click Create to proceed.
Edit an Event
- Click the Event card to view the event details.
- Click the Overflow (3-dot icon) and select Edit.
- After making your edits, click the Save icon
 to confirm your changes.
Duplicate an Event
- Click the Event card to view the event details.
- Click the Overflow (3-dot icon) and select Duplicate Event.
- Make any necessary edits and click Create to proceed.
- A new Event card will be created at the stated start date/time.
Delete an Event
- Click the Event card to view the event details.
- Click the Overflow (3-dot icon) and select Delete.
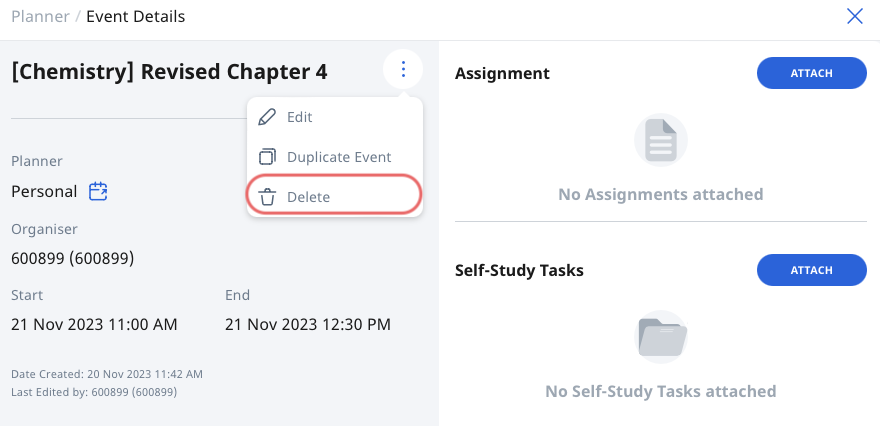
- If it is a recurring event, select if you wish to Delete this event only, Delete this event and all future events, or Delete all events in this series.
- Click OK to proceed.
Add Attachments to Task or Event
You can attach assignments or resources from My Drive, Library and Starred Resources to a task or event in your Class Group and/or Personal Planner.
- From the Task or Event subpage, select either the Assignments or Resources dropdown and click Attach.
- For Assignments, you can:
- Search for assignments based on title, Assignment Status, and/or Class Group. Click Apply to proceed.
- For Resources, you can:
- select From My Drive, From Library, or From Starred Resources under Attach Resources.
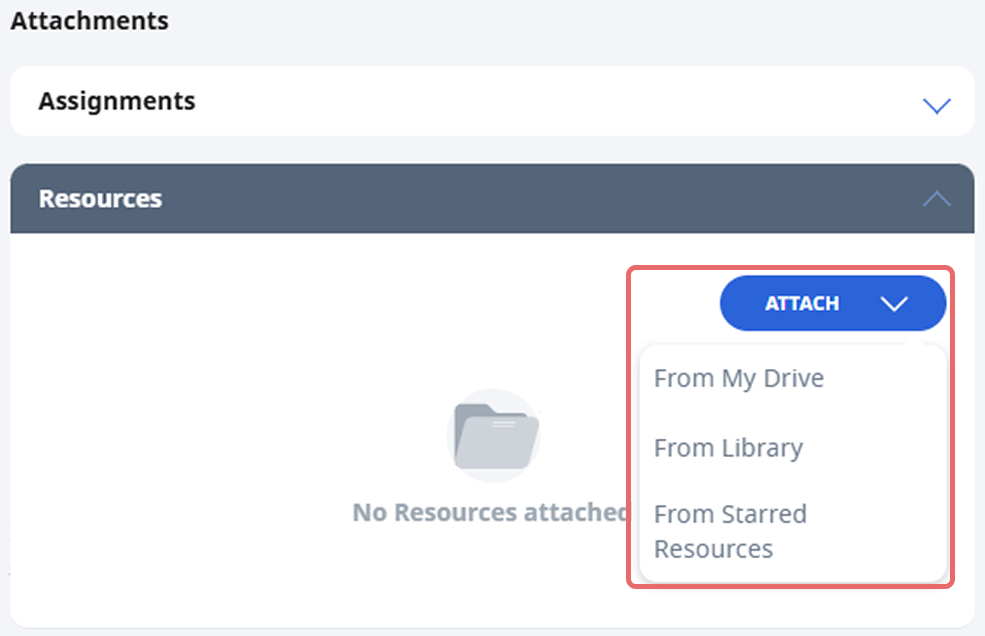
- select From My Drive, From Library, or From Starred Resources under Attach Resources.
- For Assignments, you can:
- From the Attach Assignment or Attach Resources subpage, you can select the section or the whole module (without sections) you wish to attach.

Detach Attachments from Task or Event
- Click the Task or Event card to enter the task or event subpage.
- To detach an assignment, click the Overflow (3-dot icon) and select Detach Task.
- To detach a resource, click the Detach icon
 on the Resource card.
