

(C1,iii) Add a Discussion or Live Chat (Enhanced)
(C1,iii) Add a Discussion or Live Chat (Enhanced)
What is a Discussion?
Discussion allows students to share responses, interact with one another, and build on each other’s ideas.
You can structure discussions using prompts and scaffolds, and control how students participate and view responses.
Discussion also supports real-time interaction through Live Chat.
Create a Discussion or Live Chat from Module Editor page
-
In the Module Editor page, select an Activity and hover your mouse over Interactive in the Component Bar, followed by Discussion. You can select Default or Live Chat (Beta).
-
Enter the following fields:
-
Title
-
Featured Image (optional)
-
Discussion Body
-
Set time limit (only available for Live Chat)
-
Scaffolds (optional): You can add scaffolds to guide students’ responses. Each scaffold appears as a separate tab, allowing you to structure the discussion into different parts (e.g. perspectives or steps).
-
-
Note:
-
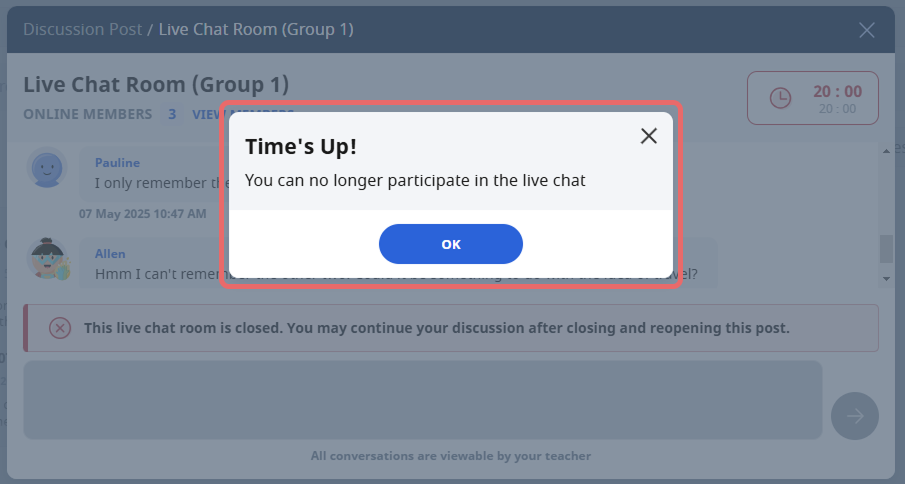
The default time limit for Live Chat is 20 minutes.
-
You can preview the discussion to see how it will appear to students.
-
When previewing, you will be able to create posts and view the discussion interface from a student’s perspective. After previewing, you can continue editing the resource immediately without leaving the page.
-
Live Chat is not available in Preview. To test Live Chat, assign the discussion to a test group with yourself added as a student.
-
Configure Discussion Settings
You can control how students participate in the discussion using the settings in the Discussion component.
To access these settings:
-
Click on the Discussion component in the Module Editor.
-
You can configure the following:
-
Students must post before viewing class submissions: When enabled, students must submit their own response before they can view their classmates’ responses. This encourages independent thinking.
-
Limit to one post per student: When enabled, each student can only submit one response. This helps ensure more thoughtful contributions.
-
Note: These settings cannot be changed once students have attempted the discussion.
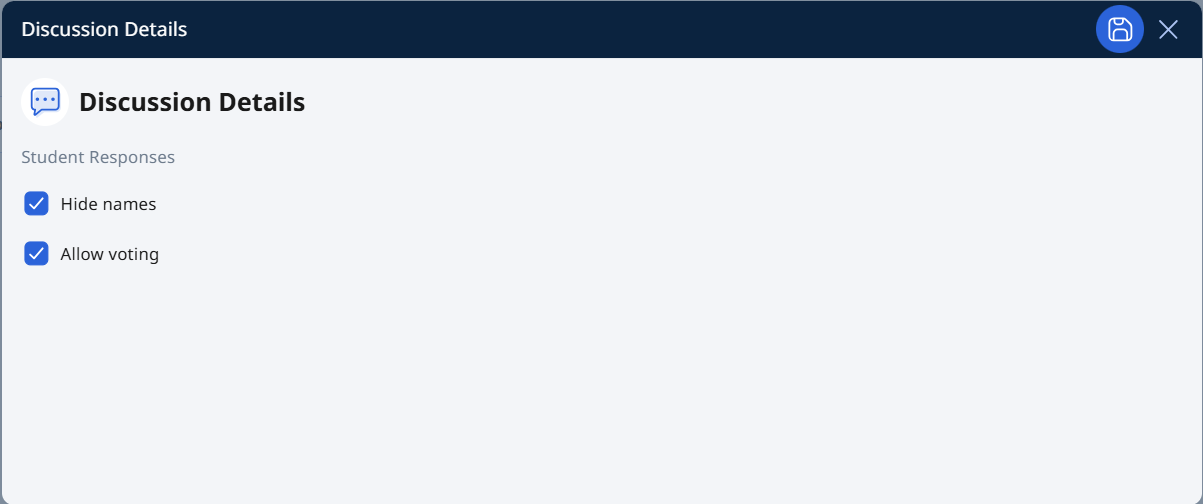
You can configure the following:
-
Hide names: When enabled, student names will appear as Anonymous on the Interaction Board. Students will only see their own names.
-
Allow voting: When enabled, students can upvote their peers’ responses to highlight useful or interesting ideas.
View and Monitor Discussions
You can view and respond to student posts in the discussion using different views and tools.
Access student responses
You can access student responses in the following ways:
-
From the Discussion component, click View Class Submissions
-
From the Monitor Assignment page, click View Responses
-
Via Data Assistant, where responses can be grouped and analysed
Switch between views
You can view student responses in different formats:
-
Wall view: Displays responses in a visual, card-based layout, allowing you to quickly scan and compare ideas.
-
Table view: Displays responses in a structured list, making it easier to review submissions systematically.
Monitor student participation
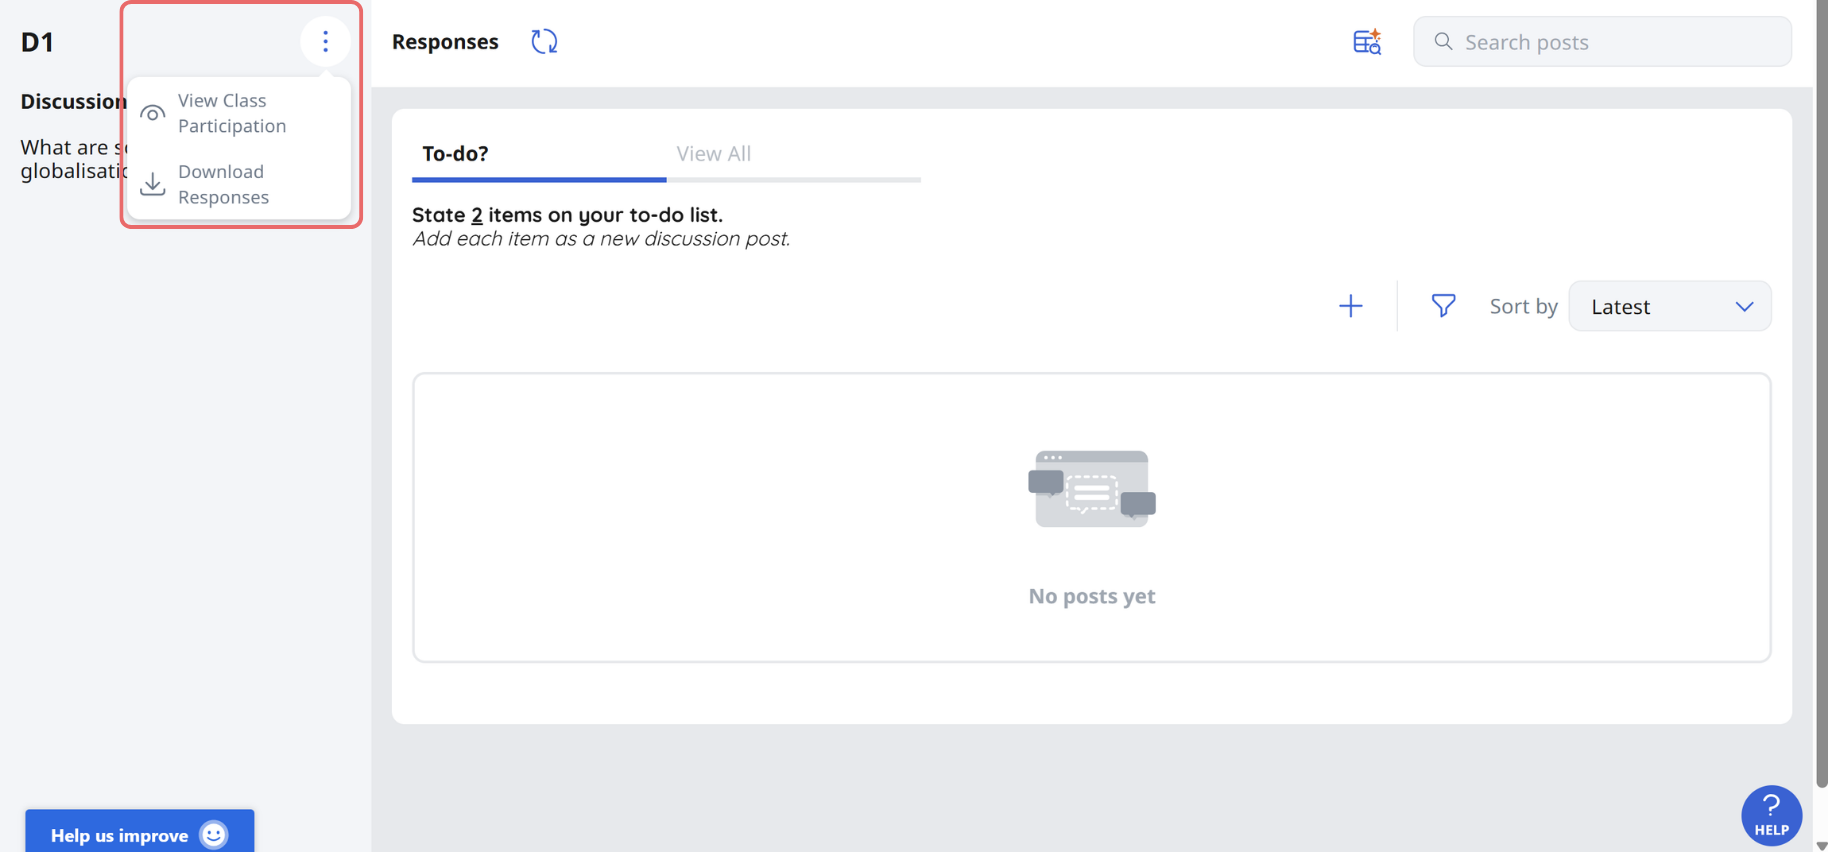
You can track student participation using the participation table to see which students have submitted responses. You may also download the students’ responses.
Manage posts
You can:
-
Bookmark posts that require your attention
-
Filter posts based on bookmarks
These tools help you quickly identify key responses and monitor student engagement.
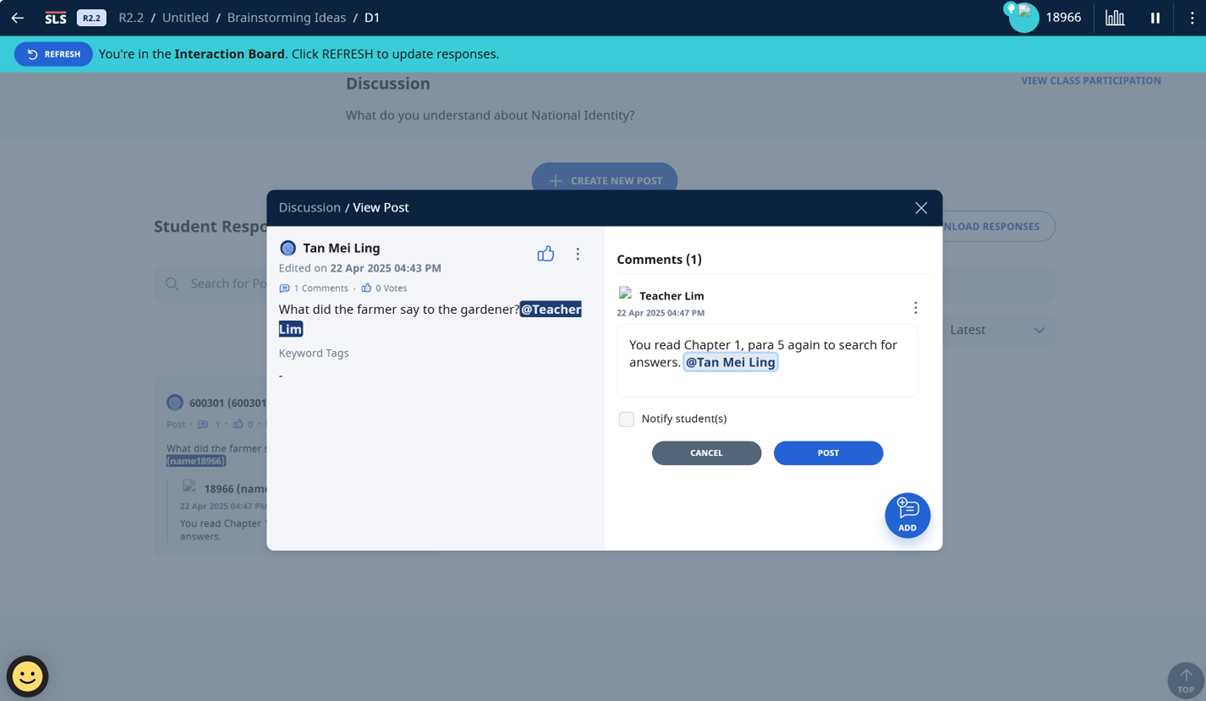
View and Respond to Posts
Click on a response card to view and add comments.
Comments are displayed in chronological order, with the most recent at the bottom.
To comment on a student’s response:
-
Click the Response card, followed by Add.
-
Enter your comment. You may include text, or insert mathematical or chemical equations where needed.
-
You can mention student(s) by typing '@' and selecting their names. The selected student(s) will receive a notification. You can also tag @All Students to notify the entire class.
-
Click Post.
You can edit or delete your comment by clicking the Overflow (3-dot) icon.
If needed, you can choose to notify students when posting your comment.
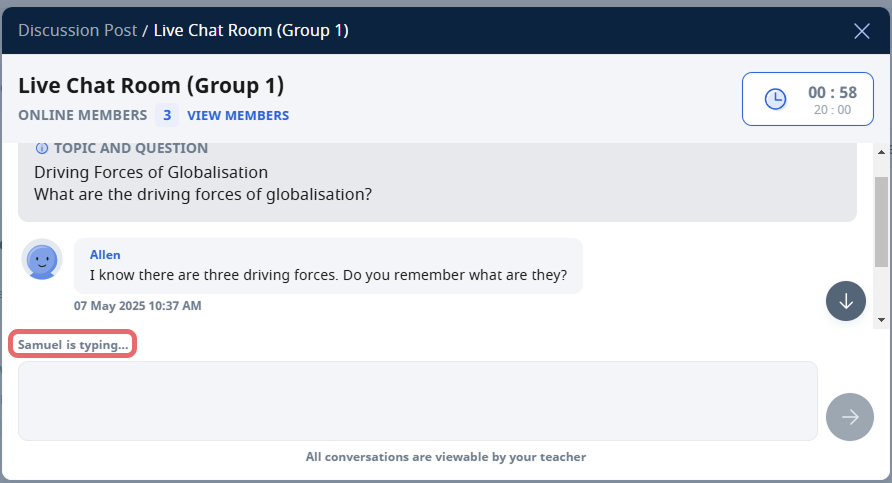
Use Live Chat
Live Chat allows students to engage in real-time discussions.
When creating a Discussion, you can select Live Chat (Beta) to enable this mode.
You can:
-
Set a time limit for the discussion
-
Enable Learning Assistant to support students during the discussion
During Live Chat:
-
Students and teachers can see messages in real time
-
Students can interact with Learning Assistant by typing @SALiS followed by their question
When the session ends:
-
The Live Chat is automatically converted into a discussion post
-
All messages are saved as comments
Additionally, you can choose to manually close a Live Chat session.
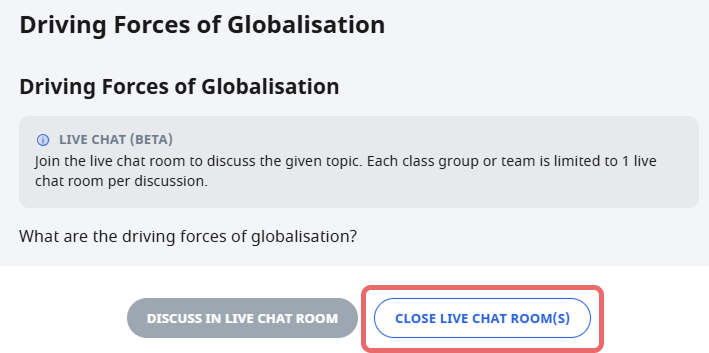
Note: Students will no longer be able to interact in the Live Chat Room(s). Each Live Chat Room will be converted into a post and previous conversations will be saved as comments. This action cannot be undone.
Use Data Assistant (DAT)
Data Assistant (DAT) helps you analyse student responses in a discussion.
You can access DAT from the discussion to view grouped insights based on student responses.
DAT analyses are only visible to teachers and are not shown to students.
You can:
-
View multiple analyses in a collapsible list
-
Expand each analysis to review the AI-generated insights
-
Edit the analyses to refine or adjust the content where needed
These insights can help you identify common patterns, misconceptions, and key ideas in student responses.